REVIEW: Rimmel Eyeful Glistener Crayon
Posted by ThatGirlShaeXo on Thursday, February 26, 2009. Filed under: Glistener Crayon, Review, Rimmel Eyeful, Rimmel London, ShadestickNo Comments »
Holaaa :) Todays review is for Rimmel Eyeful Glistener Crayon. They are sooome what like the shade sticks from MAC but not as great and much much cheaper haha. so Rimmel says to use these as an all over eyelid shadow, but I DO NOT RECOMEND THIS. It creases way easy, it feels lipsticky and sort of greasy. BUT when used in other ways it is really pretty and very effective.
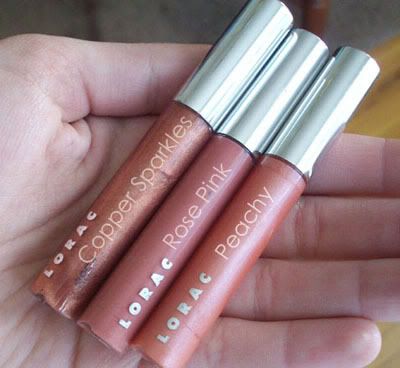
The two I bought:
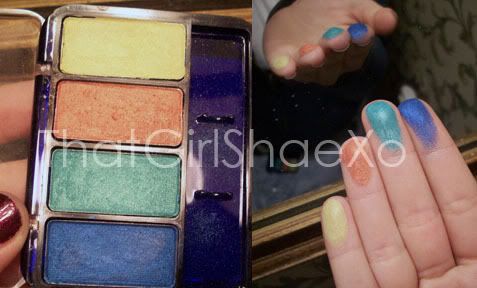
The Rimmel line comes with 5 colors. Theres Flaunt (orange), Stand Out (lime green), Talk To Me (blue), Girls Only (pink), Straight Laced (purple/rose). The two I purchased were Talk to Me, and Straight Laced.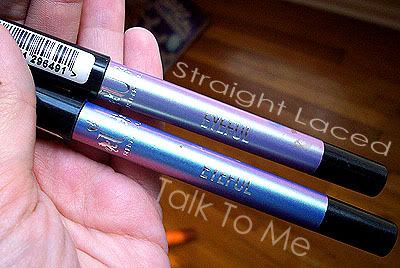
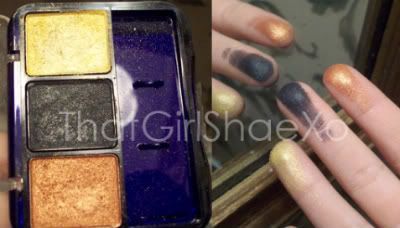
As Bases:
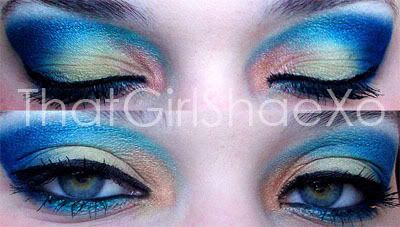
These are amazing as bases. I tried it with L'oreal HIP pigment in 544 Unashamed over Straight Laced, and Milani eyeshadow in 06 Atlantis over Talk To Me. The results were great! They stayed so close to the true brilliant color of the Eyeful Crayons. I put Talk To Me as just a bottom liner with Atlantis over it for school as a fast and easy look :)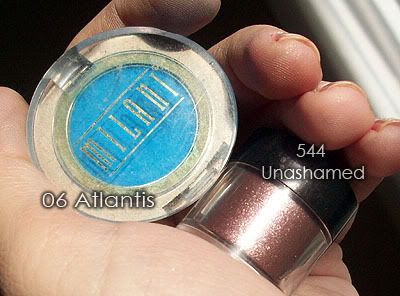
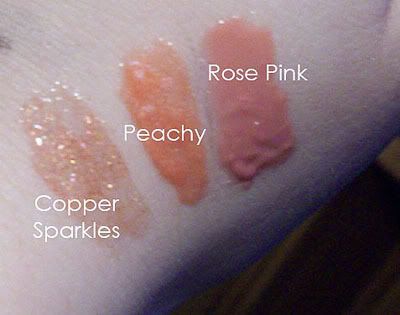
The Swatches: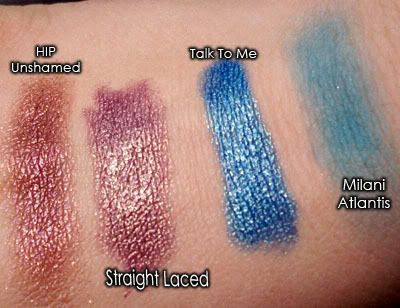
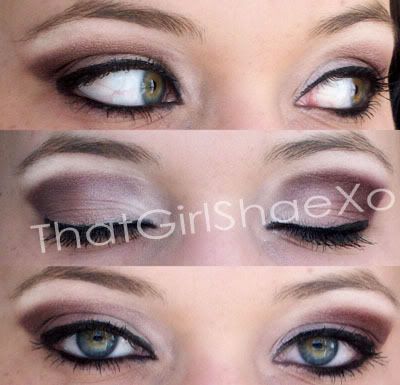
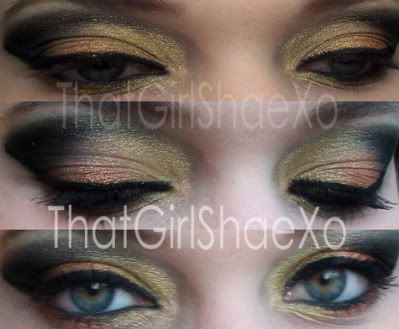
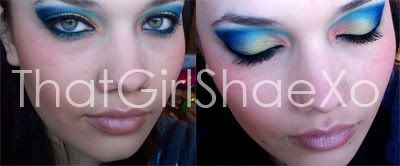
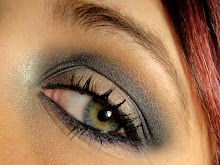
The Results:
=]<3